What is Blu-Ray DVD?
Blu-ray Disc (BD), sometimes called "Blu-ray," is an optical disc storage medium designed to supersede the standard DVD format. Its main uses are for storing high-definition video, PlayStation 3 video games, and other data, with up to 25 GB per single layered, and 50 GB per dual layered disc. The disc has the same physical dimensions as standard DVDs and CDs.
What is the different between the DVD and Blu-Ray DVD?
To be simple, Blu-Ray DVD uses a blue-violet laser as opposed to the red laser used on DVDs and it can hold a lot more information on them than DVDs, 25GB (single-layer)/50GB (dual-layer) but DVD and only take 4.7GB (single-layer)/8.5GB (dual-layer).
The images on blu-ray disc are sharper, brighter, and more detailed than any DVD movie. What manufacturers are trying to do is make the movie look as close to what you see in a real theater as possible, except for its a tenth the size and in your home.
Blu-Ray DVD is really nice but you have to play it on Blu-Ray player, do not worry, it can also play all your DVD movies smoothly.
Part 1: How to Rip Blu-Ray DVD to Video Format?
Tools you need:
1. AnyDVD- You can use the Trail Version. Get it here:
http://static.slysoft.com/SetupAnyDVD.exe
2. Blu-Ray DVD Driver
3. Blu Ray Ripper
Preparation:
You need to install AnyDVD, then run this Blu Ray Ripper
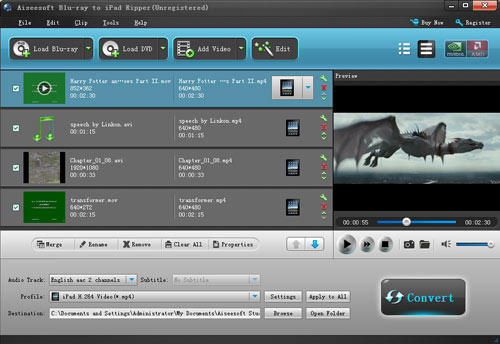
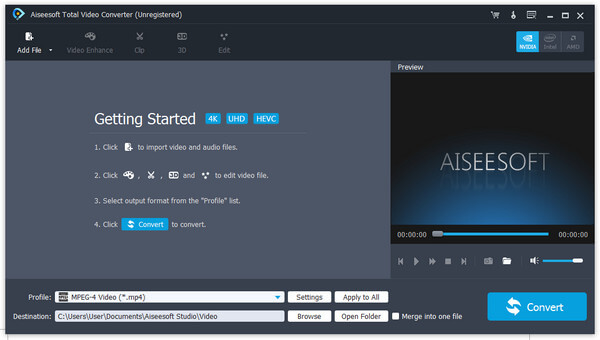
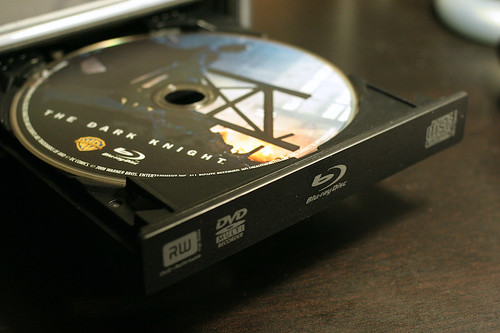
Step 1: Load your BD
Load your BD disc in to your blu-ray driver.
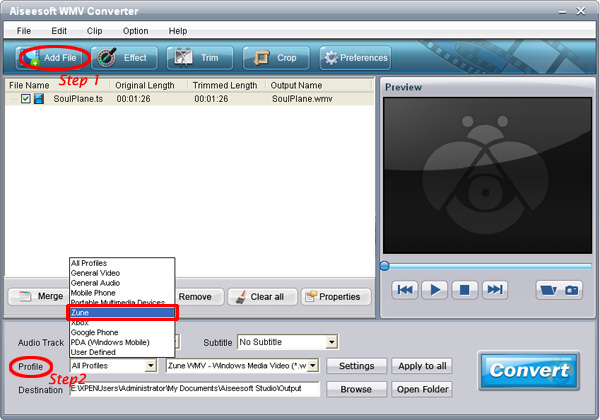
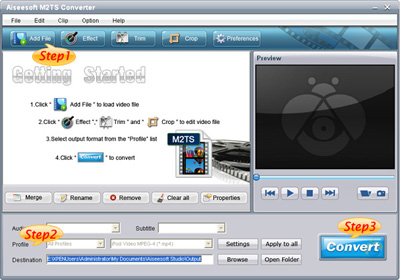
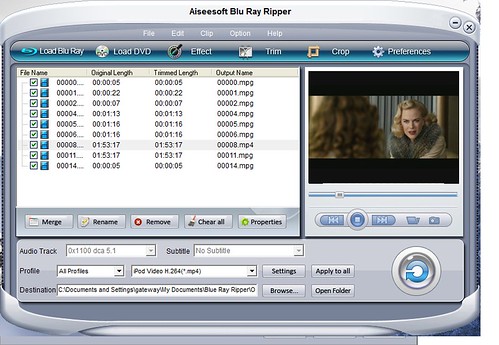
Step 2: Output Profile
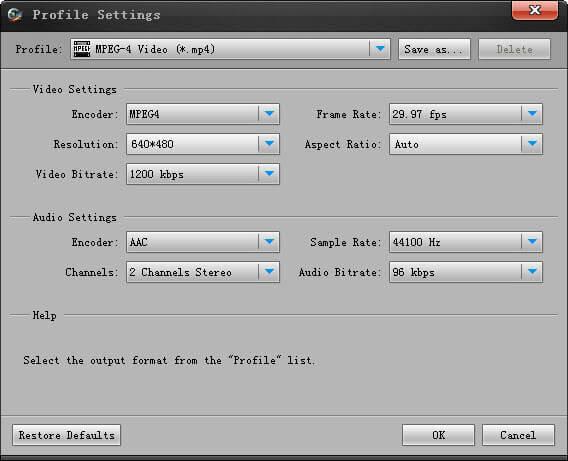
Choose your output profile from the drop-down list according to your need. You choose output format as your devices and also with specific video format.
You can also set the specific settings of your output video, such as “resolution” “video bitrate” “encoder” and so on.
After you have done all the tings above, you need to click the start button to convert your blu-ray disc.
Tips:
You can also do many video editing works about your output video.
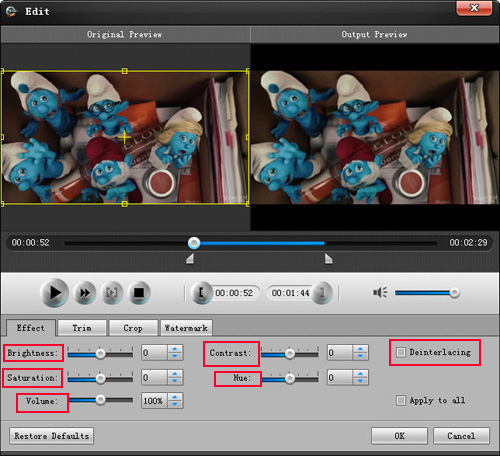
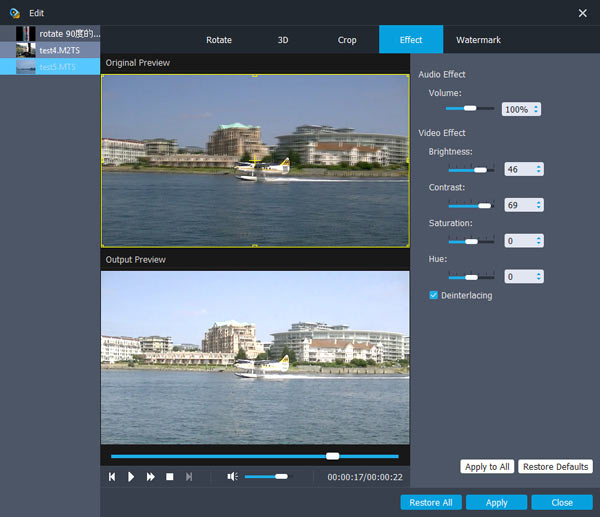
1. Effect:
You can adjust the “Brightness”, “Contrast”, “Saturation” of your output video and also you can select to use the “deinterlacing” function which make your video more enjoyable.
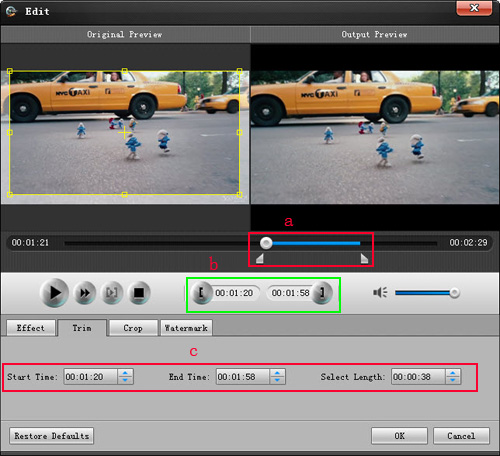
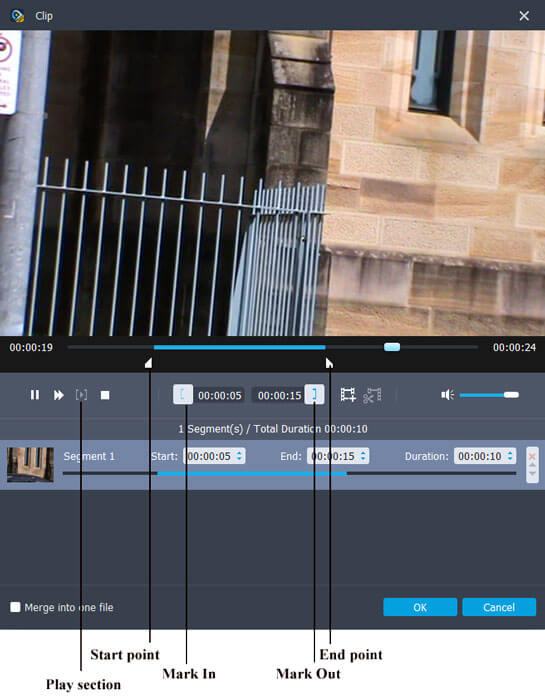
2. Trim
To pick up any part of your BD movie to converter, you can use “Trim” function.
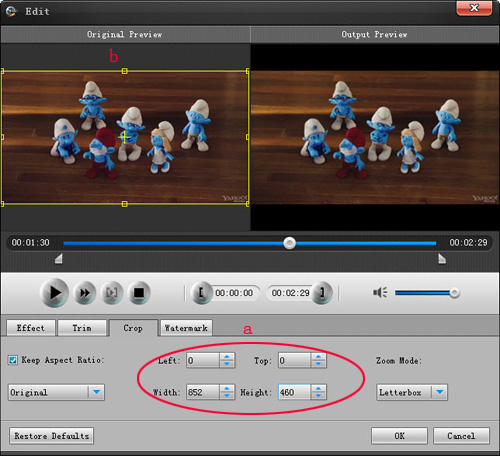
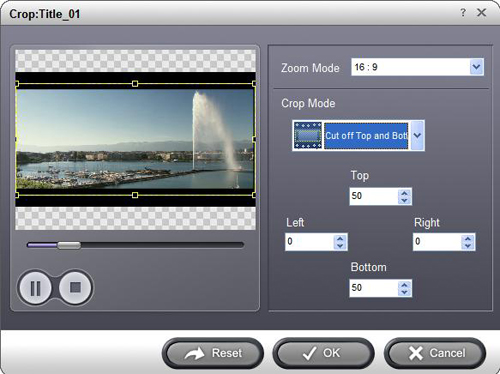
3. Crop
You can choose any play area to convert by using the Crop function.
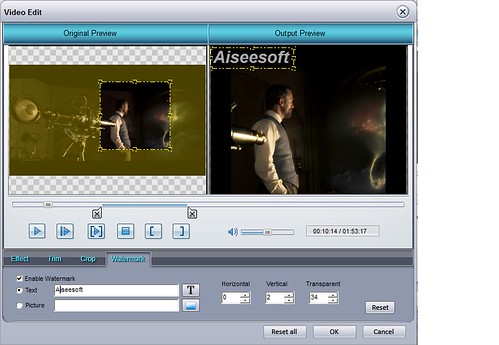
4. Watermark
You can add your own watermark on the output video, the watermark can be words and also picture. You can choose the font of your words and other really enjoyable function
Part 2: How to Rip Standard DVD to Video Format?
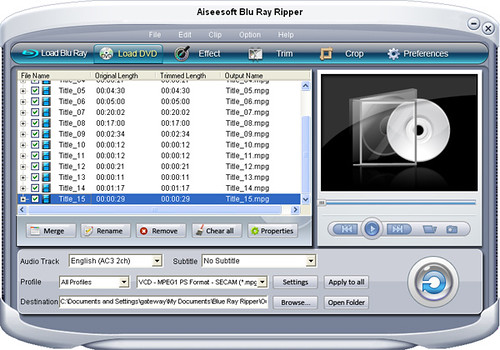
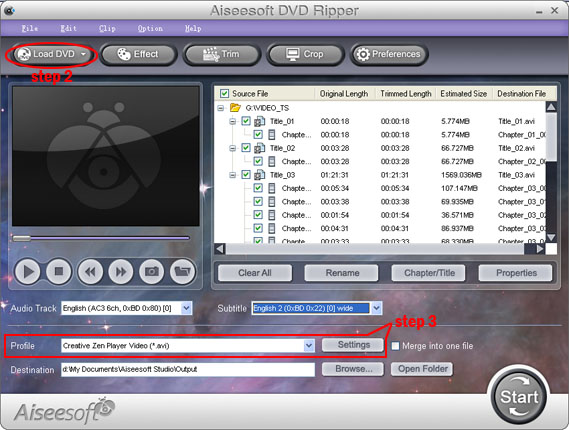
Step 1: Load your DVD
Put your DVD to your DVD Driver
Step 2: Choose your output profile
Choose your output video format according to your need.
Step 3: Video effects
You can do many video editing works with this really nice dvd ripping software. Such as trim, crop, merge and also you can add water mark to your output video.
Step 4: Conversion
Click the “Start” button to begin to rip your DVD.